

This Article is a series that will explore setting up a Sitecore Commerce Site and development environment with some code snippets showcasing what Sitecore Commerce can do and how it can be used effectively with ease.
Prerequisites to setting up Sitecore to work with Commerce server storefront site on your local machine are:
You have installed MongoDb 2.6 or higher on your local machine.
You gave installed Commerce server on your local machine, if not follow the steps listed under Sitecore Commerce Diary 1 located at: http://xcentium.com/blog/2016/08/16/sitecore-commerce-diary---1-installing-commerce-server-for-sitecore-commerce.
You also need to have setup Commerce server storefront sites webservice as listed under Sitecore Commerce Diary 2 located at: http://xcentium.com/blog/2016/09/02/sitecore-commerce-diary---2-setting-up-commerce-server-website
Step 1:
Download Sitecore Commerce Connect 8.1 rev. 160205 at https://dev.sitecore.net/Downloads/Sitecore_Commerce_Connect/81/Sitecore_Commerce_81_Connect.aspx
Download Sitecore Commerce Connect 8.1 rev. 160202
Download Sitecore XP 8.1 rev. 151207 (8.1 Update-1) from https://dev.sitecore.net/en/Downloads/Sitecore_Experience_Platform/Sitecore_81/Sitecore_Experience_Platform_81_Update1.aspx
Download Sitecore Merchandising Manager 8.1 rev. 8.1.543.0 from Sitecore
Step 2:
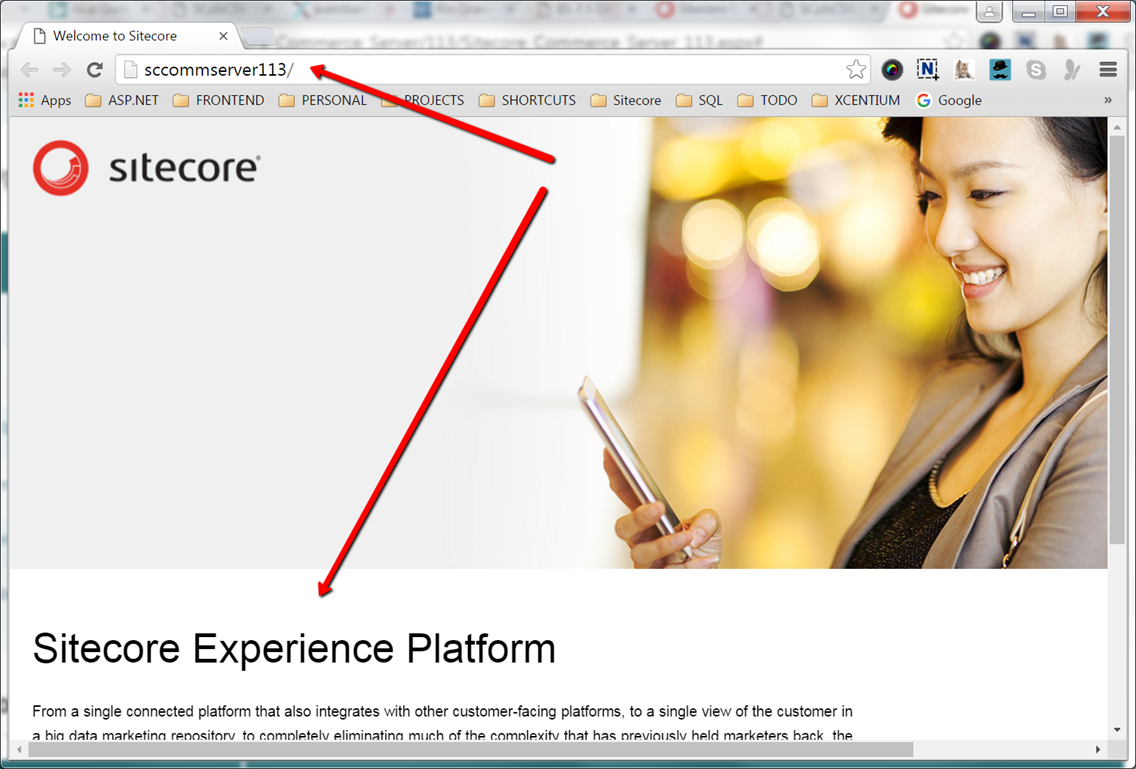
Install Sitecore XP 8.1 rev. 151207 and give it a site name say ScCommServer113 using either the sim installer or manually or using the .exe file.
Step 3:
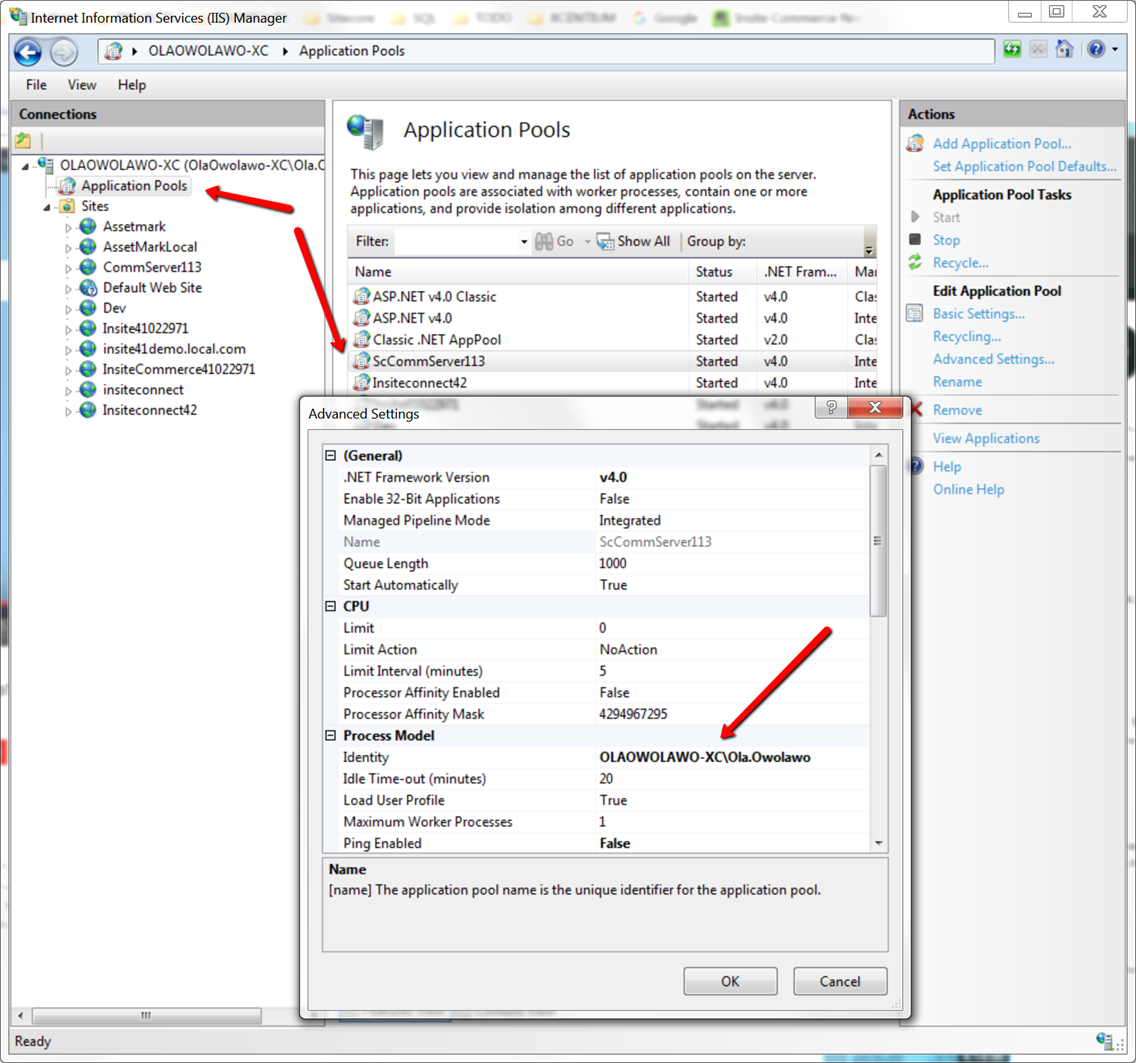
Go to the App_Pool under IIS for the new Sitecore site and set the identity to custom, then input your windows username and password.
Step 4:
Copy the downloaded Sitecore Commerce Connect 8.1 rev. 160202.zip to your sitecore site's packages folder under the data folder. I copied mine to C:\inetpub\wwwroot\ScCommServer113\Data\packages
Step 5:
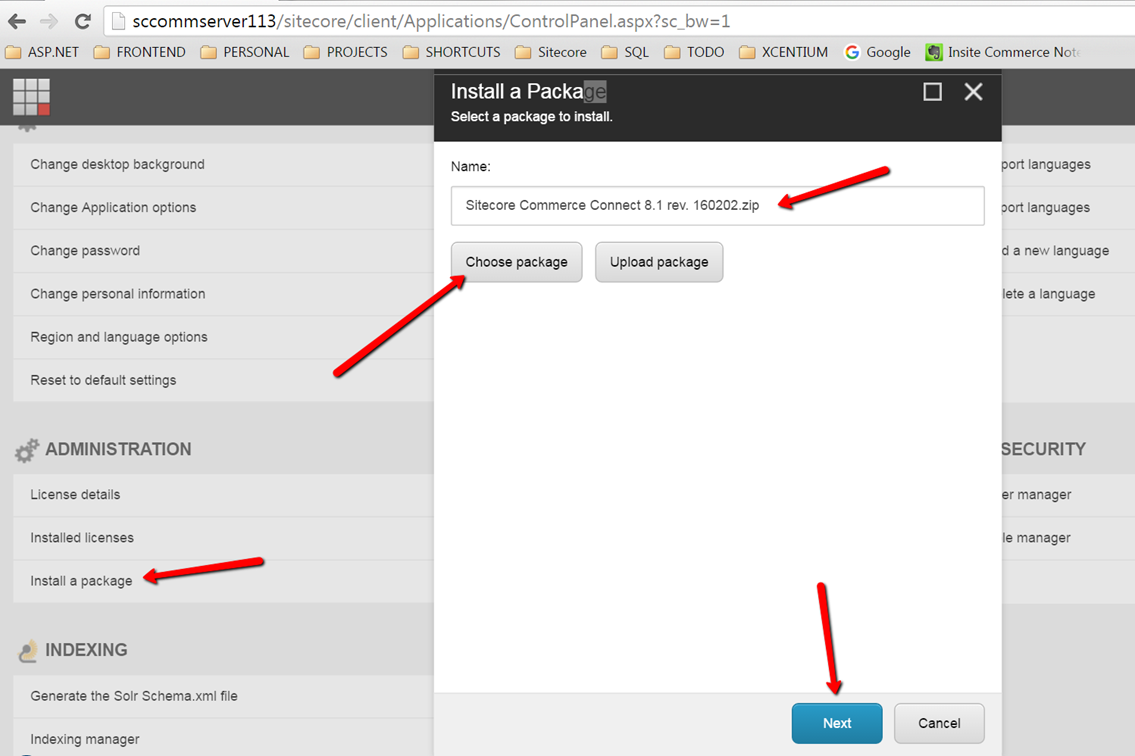
Login to Sitecore as admin http://sccommserver113/sitecore, navigate to control Panel, Click Install a package, click choose a package and select the package you just copied across, then click next and proceed with the installation.
Step 6:
Navigate to admin http://sccommserver113/sitecore/admin/UpdateInstallationWizard.aspx
First install the downloaded Sitecore Commerce Connect 8.1 rev. 160202 once the installation is complete click install another package and install the other downloaded package
Sitecore Merchandising Manager 8.1 rev. 8.1.543.0
Step 7:
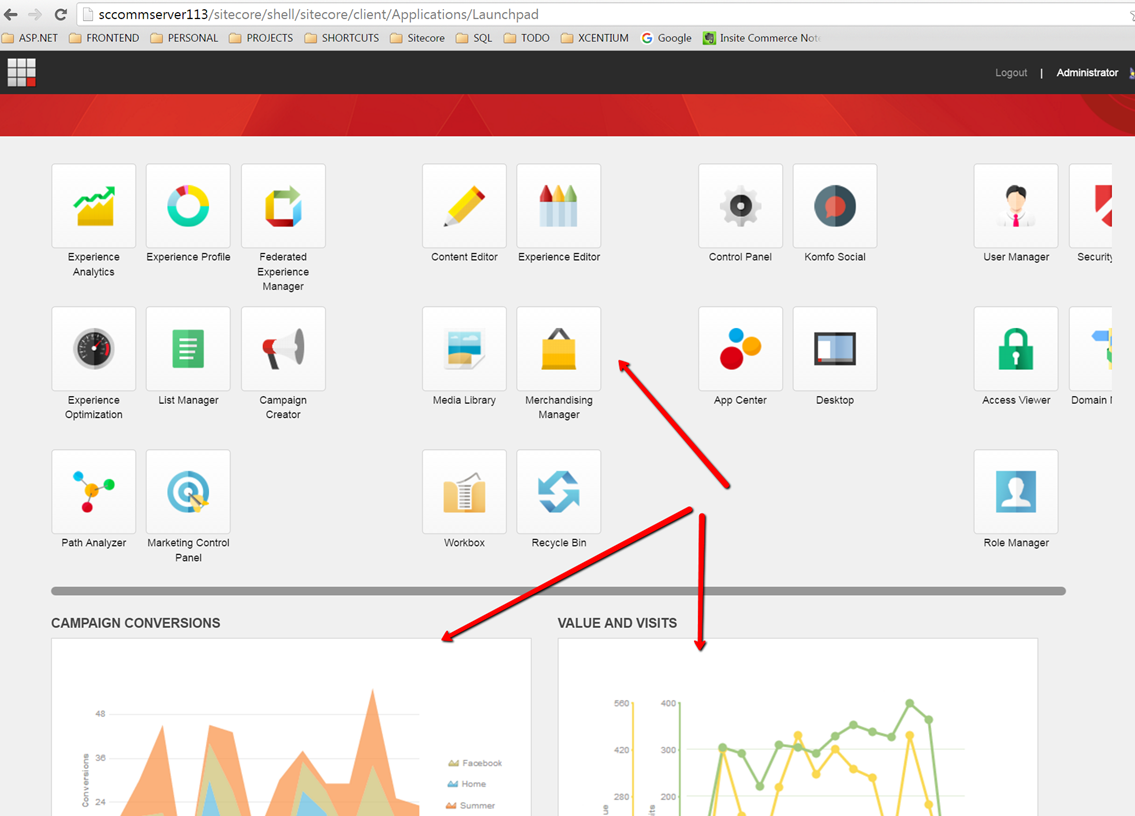
When the second installation is completed, navigate to Sitecore s Launchpad and you should see the Merchandising Manager and Experience Analytics Placeholders.
Step 8:
Generate Profile Encryption Keys for the site CommServer113StorefrontSite by following the steps below or following the steps on this url:
- Click the Windows Startbutton, search for tools command prompt, and then right clickTools command prompt and run as administrator
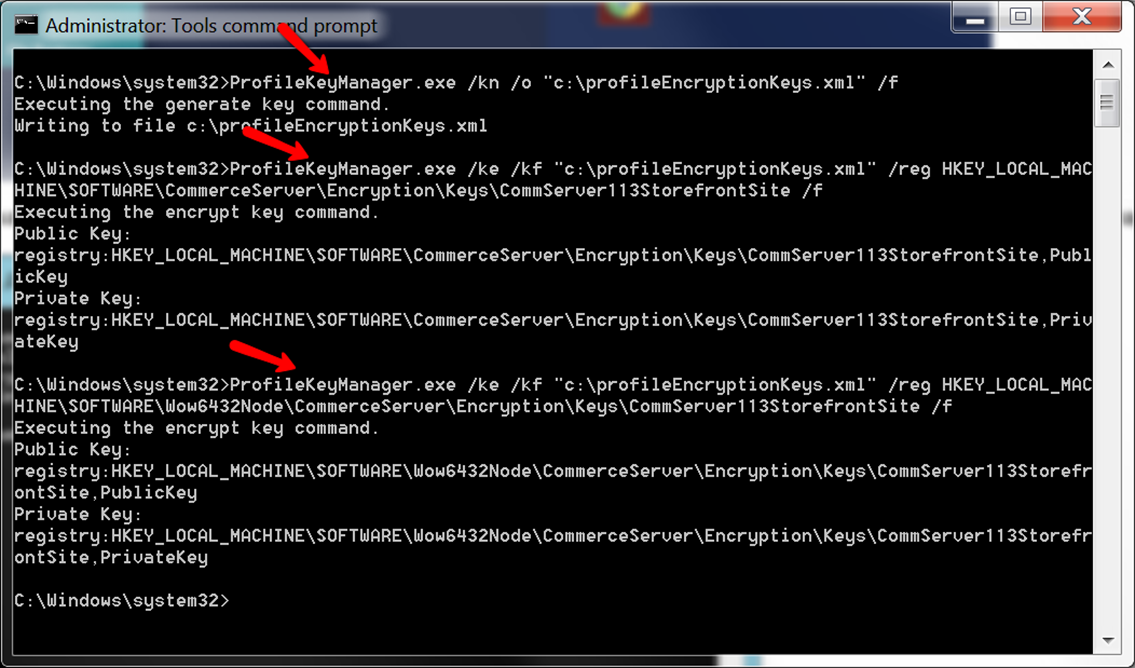
- A command prompt shell will popup. Run the following commands to create profile encryption keys in registry for the site CommServer113StorefrontSite :
- ProfileKeyManager.exe /kn /o "c:\profileEncryptionKeys.xml" /f
- ProfileKeyManager.exe /ke /kf "c:\profileEncryptionKeys.xml" /reg HKEY_LOCAL_MACHINE\SOFTWARE\CommerceServer\Encryption\Keys\CommServer113StorefrontSite /f
- ProfileKeyManager.exe /ke /kf "c:\profileEncryptionKeys.xml" /reg HKEY_LOCAL_MACHINE\SOFTWARE\Wow6432Node\CommerceServer\Encryption\Keys\CommServer113StorefrontSite /f
Step 9:
Linkup the new Sitecore site and the store front web services site CommServer113StorefrontSite as follows:
- Use Windows explorer to navigate to C:\inetpub\wwwroot\ScCommServer113\Website\App_Config
- Rename CommerceServer.Core.config.example to CommerceServer.Core.config
- Open CommerceServer.Core.config in a text editor and make the following changes
- Replace all occurences of CSSolutionStorefrontSite with CommServer113StorefrontSite
- Replace all occurences of SolutionStorefrontSite with CommServer113StorefrontSite
- Save the config file
Step 10:
Navigate to Sitecore s content editor and you will see Commerce Server related items on the content tree as shown below.
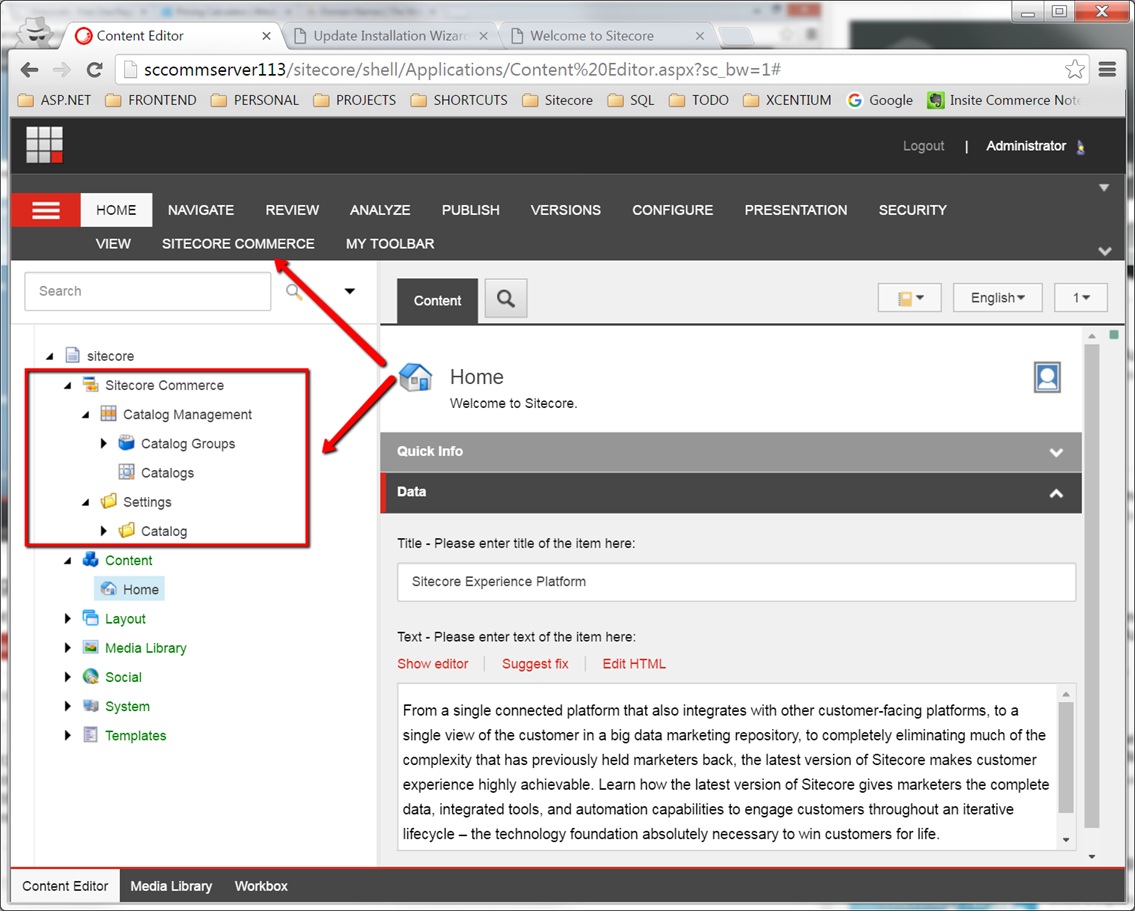
We are all set to start developing our E-commerce site using Commerce server and Sitecore.
In Sitecore Commerce Diary: 4, we will create the Visual Studio solution for our new Sitecore site so that we can start developing.