

Srikanth Kondapally
Senior Director &National Competency Lead – Sitecore Commerce
Azure Marketplace
Sitecore now provides us with two options to deploy to Azure. One by making use of ARM (Azure Resource Manager) templates with PowerShell, which is helpful in cases where you want to make changes to Sitecore, install additional packages or for automating the deployment. The second non-technical approach to install Sitecore is to use Azure Marketplace. This article outlines the steps involved in setting up a vanilla install of the latest Sitecore version on Azure.
Before we get started, let’s go through some introduction of why to combine Sitecore and Azure.
The image below gives you an overall view of the benefits of using Sitecore + Azure.
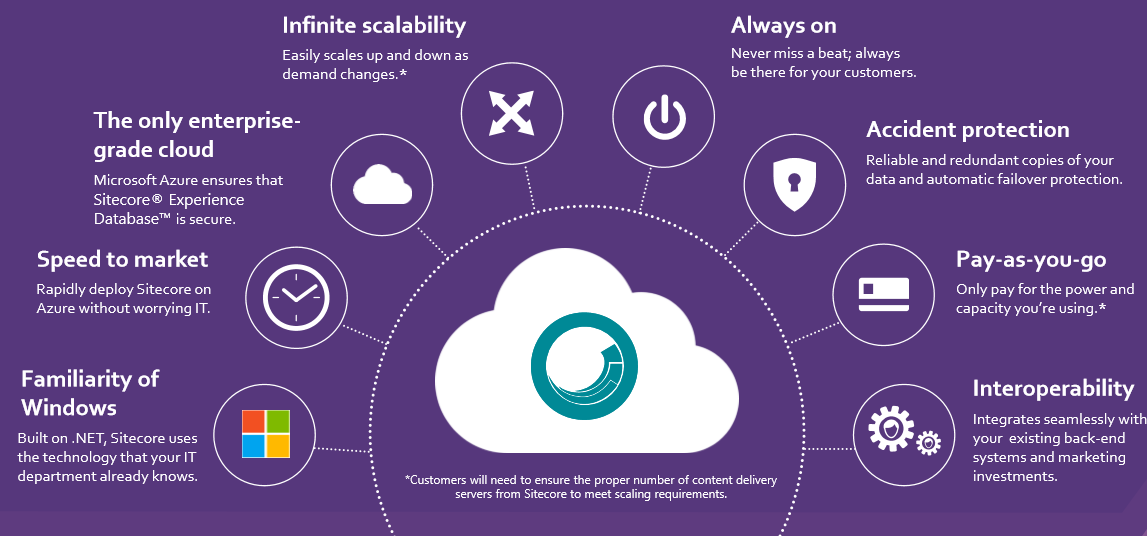
To explain in few words, this combination helps is easy deployment, scalability and productivity.
Detailed steps on how to use the Sitecore Web Experience Manager 8.2 using Azure Marketplace are as follows
Step 1:
Login to the Microsoft Azure portal at https://portal.azure.com
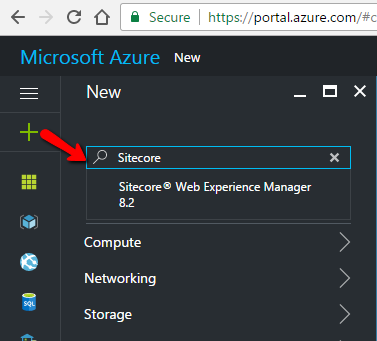
Step 2:
Search the Marketplace for Sitecore and you will find Sitecore Web Experience Manager in the results.
Step 3:
Click on Create.
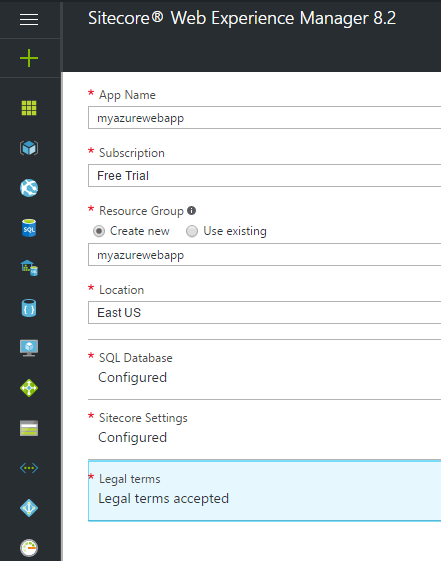
Step 4:
Provide the details requested like the name of your App, Resource Group, Location for your Data center (Default selected would be South Central US)

Configure other settings like the SQL Database and Sitecore. This is where you set your login credentials. Make sure you remember them.
Note: While configuring Sitecore settings, you need to have a Sitecore license readily available. You cannot buy Sitecore license in this Marketplace.
Review the Legal terms and click OK.
Step 5:
You will see a notification that the Deployment has started. This usually takes around 20-25 minutes to complete. The majority of the deployment time is taken by Redis session state provider to get set up

If you click on the notification, you will get an idea of tasks that are complete and the ones in queue.
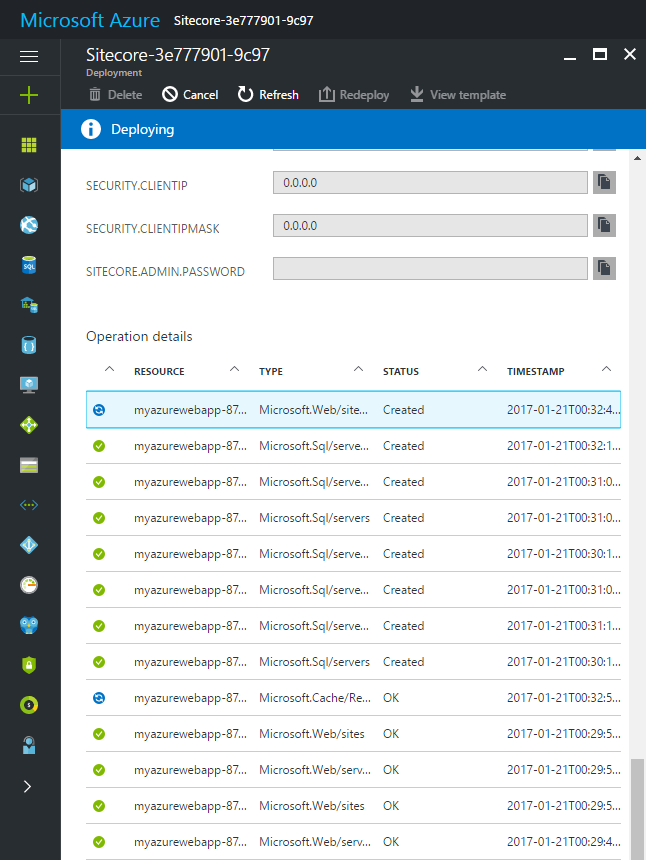
Note: You can also view the status of your deployment by clicking on Resource Groups
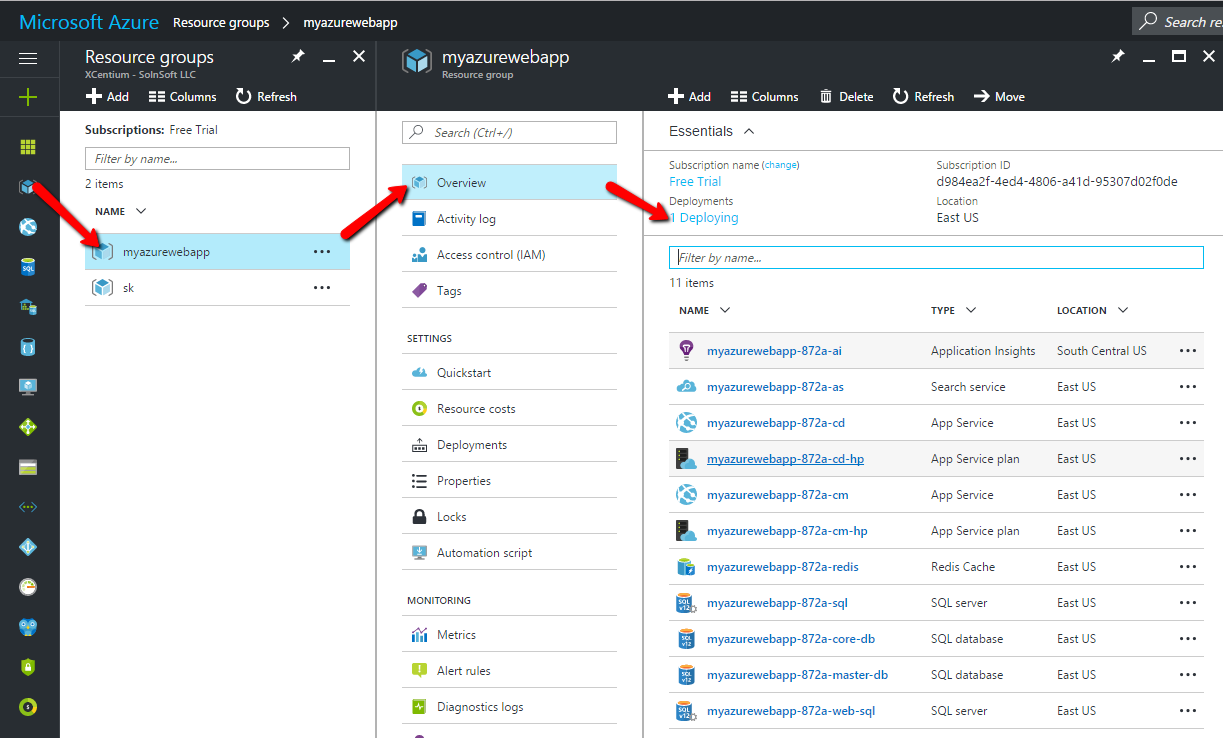
Step 6:
Once the Deployment is complete, you can navigate to resource groups for checking your CM and CD environments
How to navigate to CM:
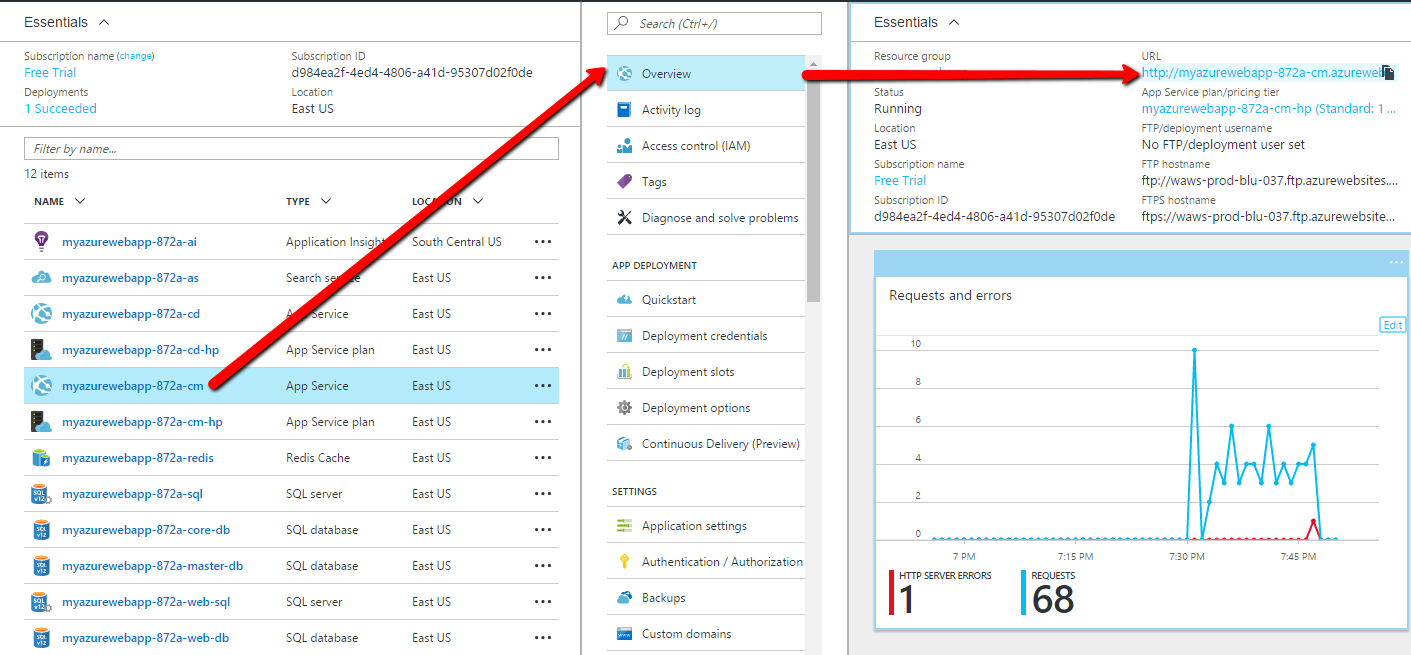
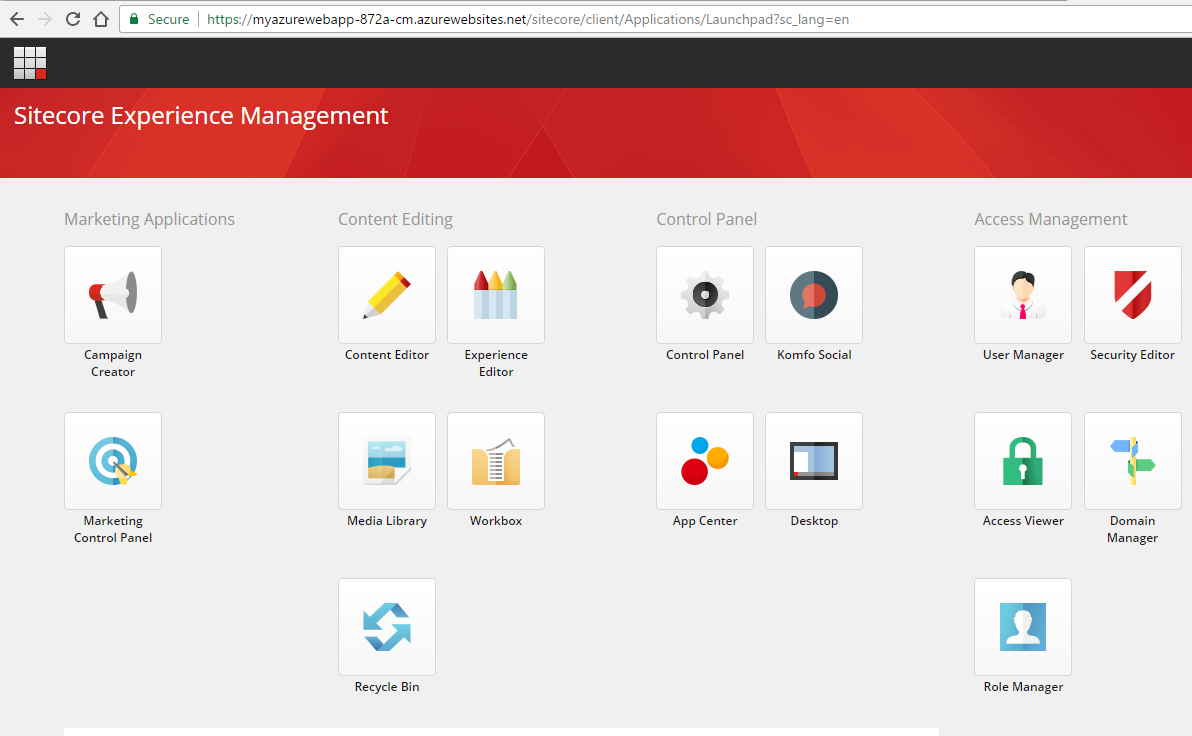
Once the CM loads, you need to append the /sitecore to the URL for the sitecore login screen to come up.
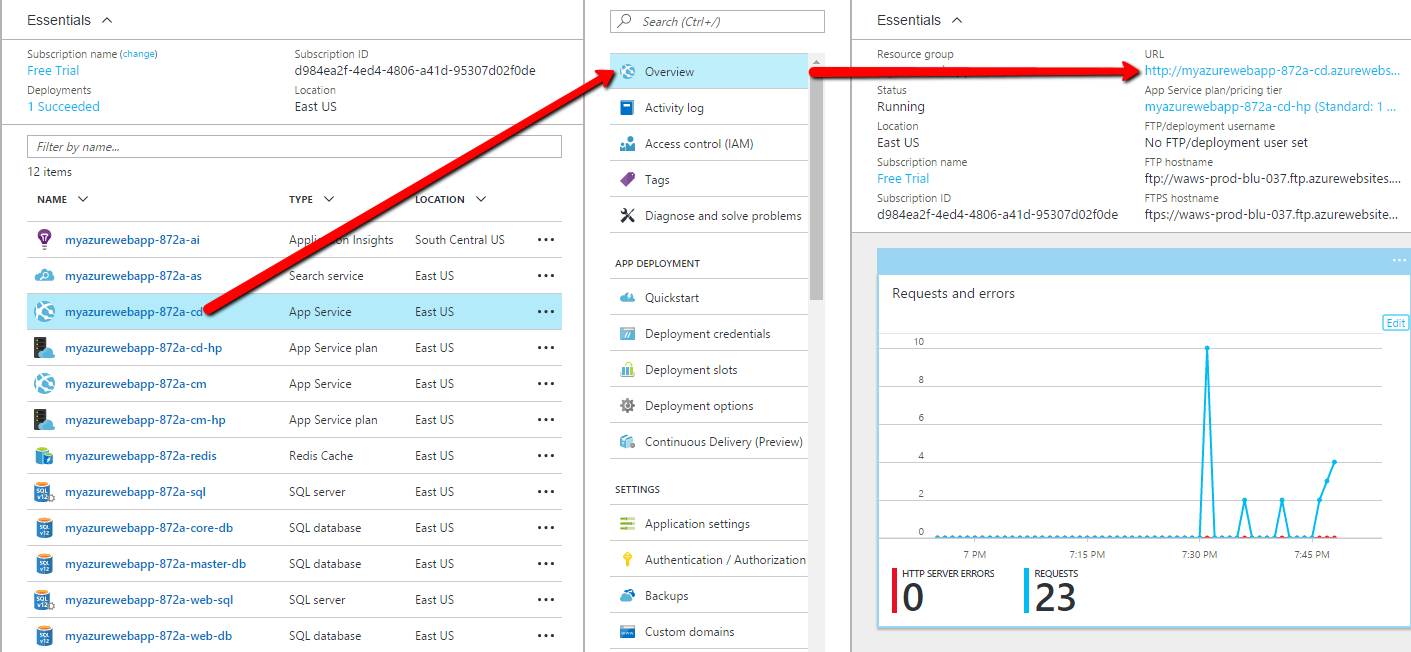
How to navigate to the CD:
Notes:
- The previous Sitecore Azure Module has deprecated as part of Sitecore 8.1
- Sitecore 8.2 Update-1 is the first release to support Azure Web Apps
- Standard Sitecore health monitoring tools do not work in Azure Web Apps and are replaced by Azure Application Insights
- Sitecore uses Azure Search as its default search engine. The user can still use Solr or Coveo if desired
- Visual Studio can connect and interact with the cloud. This helps up development and also provides Remote Debugging.
- App Insights recently announced lot of new datacenters. Earlier, we had only South Central US.
Hope this information was helpful. Stay tuned for more articles on setting up Sitecore using ARM templates