When installing SXC 9.1, you may run across an issue where no default SXA site is created after installation.
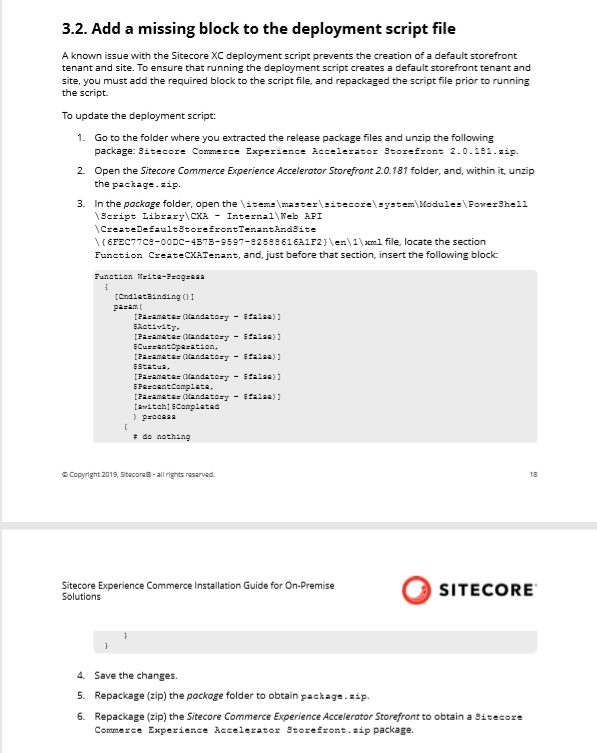
To ameliorate this problem, you'll run across this juicy tidbit in the [Sitecore XC 9.1 Installation Guide for On-Premise Solutions](http://commercesdn.sitecore.net/SitecoreXC_9.1/Sitecore_XC-9.1_Installation_Guide_for_On-Prem.pdf "Sitecore XC 9.1 On-Prem Installation Guide"), section 3.2:

Sigh.
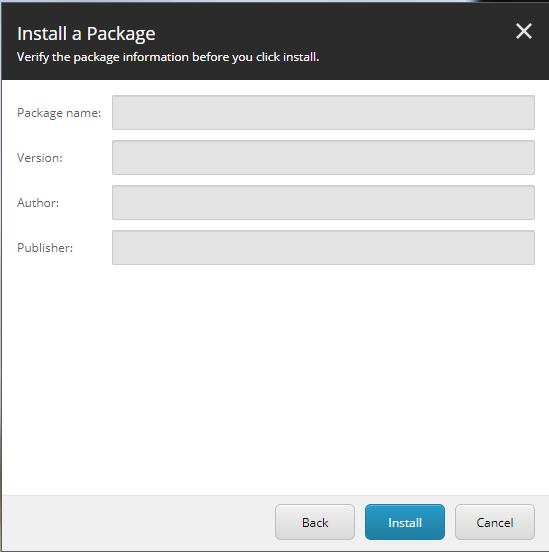
Not only is this an unnecessary complication to our already complex Sitecore install, but the solution proposed doesn't produce a valid Sitecore package. If one installs the modified Sitecore Commerce Experience Accelerator Storefront 2.0.181.zip file directly, you'll notice that the modified package has lost data on the second screen of the installation wizard:

Grrrrrr.
So, we're in a bit of a pickle:
- The unmodified package doesn't produce the default SXA site
- The instructions provided by Sitecore don't produce a valid package
 Luckly, we've another option: Use [7-Zip](https://www.7-zip.org/ "7-Zip") to edit the incorrect file in the package.
Here's a step-by-step:
- Download and install [7-Zip](https://www.7-zip.org/ "7-Zip")
- Make a copy of the Sitecore Commerce Experience Accelerator Storefront 2.0.181.zip file and name it Sitecore Commerce Experience Accelerator Storefront 2.0.181.ORIG.zip. This is your backup file.
- Right-click the original Sitecore Commerce Experience Accelerator Storefront 2.0.181.zip file, and select: 7-Zip -> Open archive:
- You'll be presented with this initial view of the archive:
- Now, simply double-click your way to the incorrect file, e.g.:package.zip
- items
- master
- sitecore
- system
- Modules
- PowerShell
- Script Library
- CXA - Internal
- Web API
- CreateDefaultStorefrontTenantAndSite
- {6FEC77C8-00DC-4B7B-9597-82588616A1F2}
- en
- 1
- Now, right-click the xml file, and choose Edit from the contextual menu:
- Depending on how you've configured 7-Zip, an editor will open with the contents of the xml file. By default, 7-Zip will open Notepad.
Add the missing function, save your change, and close Notepad. - You'll be presented with a 7-Zip dialog:
Click "OK" to persist your changes to the archive. - Close 7-Zip. You'll be presented with another dialog:
Click "OK" again, to persist your changes to the Sitecore package. - Run your SXC 9.1 installation script again, or install the package manually.
This time, the default SXA site will be created.

