

Introduction
Content Hub provides a simple yet powerful set of RESTful APIs, allowing external tools and services to read and manipulate Content and Assets in Content Hub (much more than that actually). This post is a quick and high-level "getting started" guide, showing how to invoke some of the basic API calls, starting with authentication and then invoking basic CRUD operations such as read, create, update and delete entities in Content Hub. This set may be just enough for simple integration scenarios, where 3rd party service needs to interact programmatically with Content Hub entities. For more advanced use cases please refer to Content Hub REST API Documentation, which can be found in Sitecore documentation.
Using a browser to quickly lookup Content Hub entity using /api/entities call
Before diving into Postman calls, I'd like to mention one handy way of reading entity data directly in the browser.
Here are the steps:
- Log into Content Hub instance and navigate to the desired instance, note that the last URL segment is the actual ID of the selected entity, we'll need that.
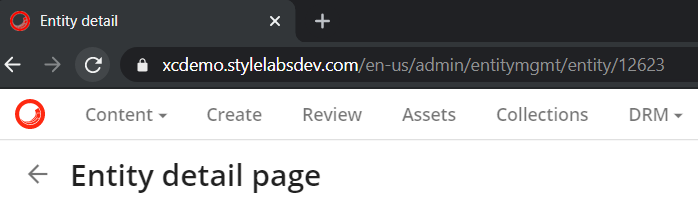
- Keep the hostname and ID and replace everything in between with with "/api/entities/", e.g. https://{{hostname}}/en-us/admin/entitymgmt/entity/12623 would become https://{{hostname}}/api/entities/12623.
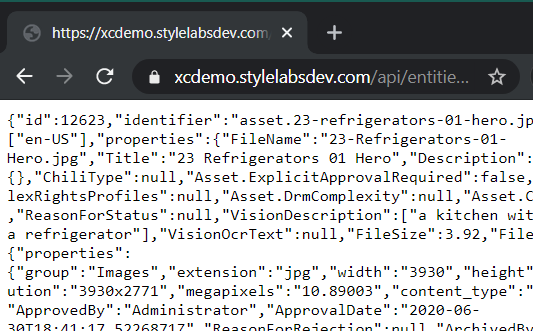
- Navigate to the resulting URL to see JSON representation of the given entity
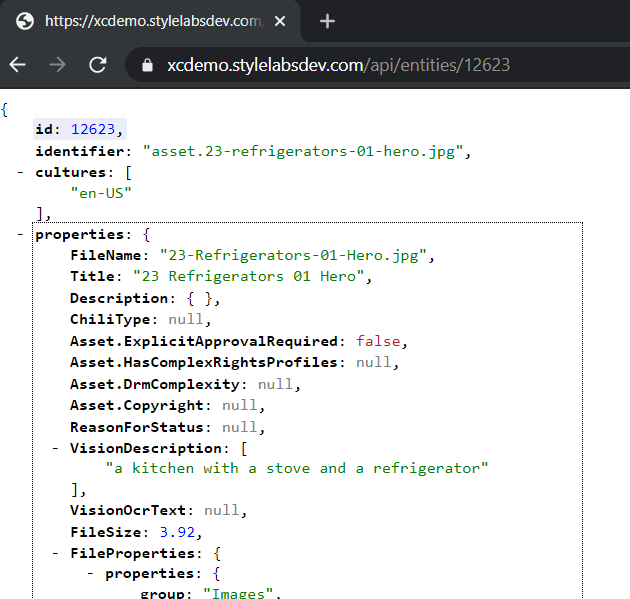
- (Optional, but quite handy) Install JSON extension, such as JSON View to help with JSON readability, so the above JSON would become formatted like on the screenshot below. In addition to formatting JSON nicely this chrome extension renders internal references as links, allowing to navigate to referenced entities in the same browser window.
Using Postman
Postman is a great tool for RESTful API development and testing, it comes with a paid tier, but the free version is more than enough in most cases, certainly enough for the scope of this post. Below sections describe how to interact with Content Hub APIs with Postman, so having Postman installed would definitely help.
Get Authentication Token
Content Hub API users must be authenticated in order to be able to invoke methods to interact with Content Hub content, so I'll start with authentication. Authentication endpoint takes username and password as parameters and returns an authentication token as a string. The issued token will remain valid until a new token is generated. This token needs to be sent in the X-Auth-Token header of every request that requires authentication and all API calls described below will require authentication.
Authentication call is a POST call to https://{{hostname}}/api/authenticate with the body, containing existing Content Hub user's username and password like so:
{
		"user_name":"{{username}}",
		"password":"{{password}}"
}
More details can be found in Get token documentation.
Get Entity
This is the same GET call to https://{{hostname}}/api/entities/{EntityId}, as the one described in "Using a browser to quickly lookup Content Hub entity using /api/entities" section above. "Get Entity" endpoing rreturns the requested entity in JSON format. It is possible to limit JSON output to only specified members or groups using members and/or groups parameters in the query string. Members basically are the fields of Content Hub entity and Groups is what allows to group those fields together. More details can be found in Content Hub documentation on Members and Member Groups.
Create an Entity
To create an entity, make a POST request to https://{{hostname}}/api/entities providing entity data along with entity definition in the message body. The schema of the posted entity JSON payload must match the entity definition. One helpful trick for constructing such JSON message body is to use the above described "Get Entity" call to retrieve JSON data of an existing entity with the same definition and then tweak it as needed before posting it back to create a new one.
Here's an example (generated with Postman)
Get sample Entity JSON.
I'll use below JSON returned by GET call to [https://{{hostname}}/api/entities/{{entity ID}}](https://{{hostname}}/api/entities/{{entity ID}}) 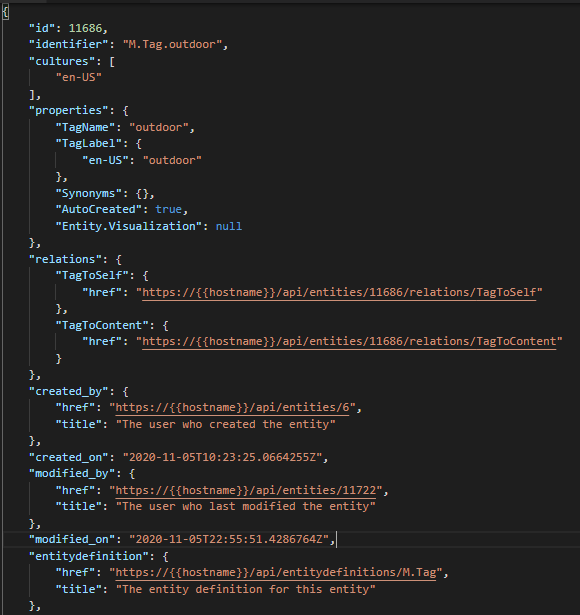 Tweak entity JSON as needed and then POST it to "Create Entity" call
Keep "properties" and "entitydefinition" nodes, leave "entitydefinition" as is and update fields under "properties" as needed. Note, that for Create call the "entitydefinition" is required or Content Hub wouldn't know what kind of entity to create. Most other fields are optional. "id" and "identifier" will be assigned automatically and of all fields under "properties" only those marked as required in the schema are required to be present in Create call. "relations" are references to other entities in Content Hub. Here's new sample JSON (tweaked from the one retrieved on previous step) - note it's much smaller than the one above, I'm only sending what I need and skip the remaining fields. Sending POST request to https://{{hostname}}/api/entities with JSON in request body:
A successful request will return a response, which looks like the below JSON, containing brand new "id" and "identifier" for a newly created entity. 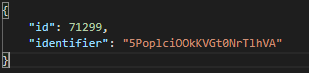
Update Entity
Continuing the example with the above entity, I'll update its "TagName" and "TagLabel" values via PUT call to https://{{hostname}}/api/entities/{Entity Id} and JSON body like the below sample. Similarly to Create call the "entitydefinition" is required, but none of the properties is - only those properties that need to be changed must be present, no matter whether or not they're required in the given entity schema. 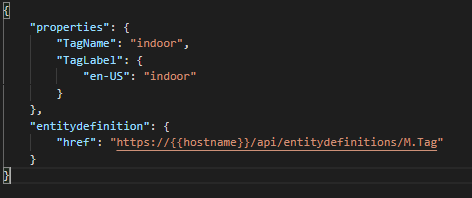
Delete Entity
This one is simple - just send a DELETE request to [https://{{hostname}}/api/entities/{{Entity ID}}](https://{{hostname}}/api/entities/{{Entity ID}})
P.S. Get API Status
One more thing: handy API call to retrieve the current state
GET call to https://{{hostname}}/api/status
Useful links
- A list of all RESTful APIs available on a given instance can be accessed at https://{{hostname}}/api
- Content Hub documentation describing its REST API can be found here: https://docs-partners.stylelabs.com/content/3.4.x/integrations/rest-api/about.html
- Postman collection with samples of above calls: https://github.com/sergyatsenko/content-hub-api-samples