

In Part 1 of this series: Building Fast and Powerful Search with Contentstack and Algolia , we explored the foundational steps for creating fast and scalable search experiences using Contentstack and Algolia.
In this follow-up article, we dive deeper into content type mapping — a critical aspect of optimizing how your content is indexed and displayed within Algolia.
This post walks through a real-world use case and explains how to handle both simple and complex field mappings using the Contentstack Algolia Marketplace App. We will also cover several best practices to help you build scalable and relevant search experiences.
Use Case: Mapping the “Author” Content Type
Let’s consider a common scenario where you have an Author content type in Contentstack and want to surface author information within a search listing component on your website’s Teams page.
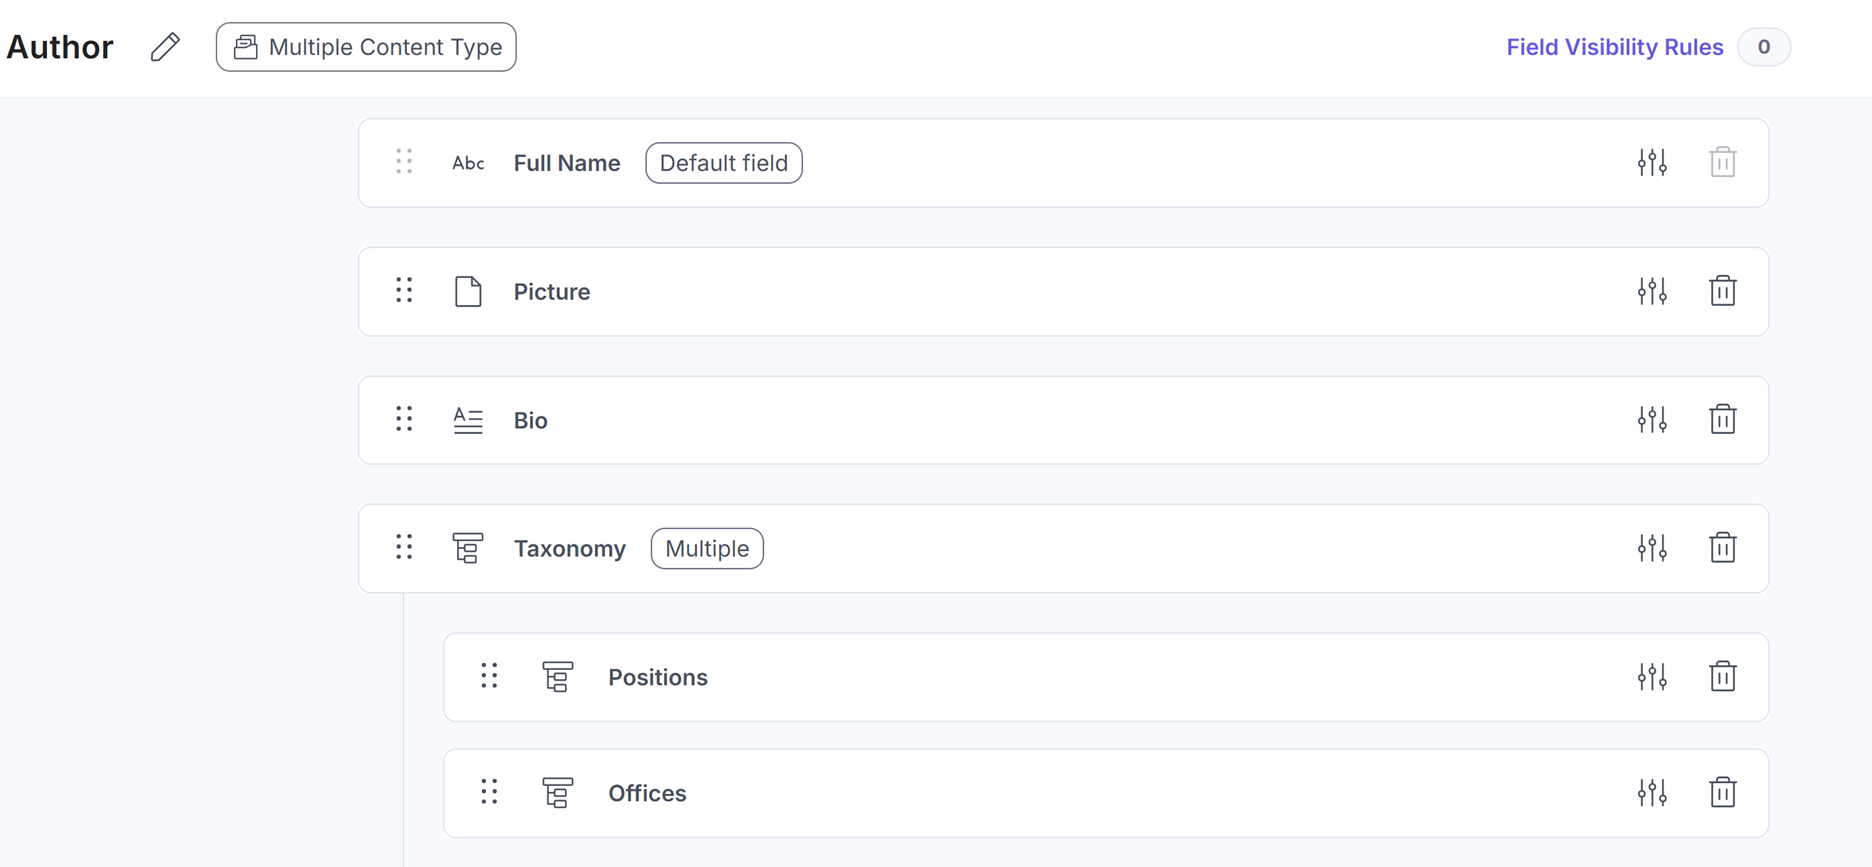
Content Type: Author
Fields:
- full_name (Text)
- picture (Asset)
- bio (Rich Text)
- taxonomies (Custom Reference / Group field for metadata)
The goal is to push this data into Algolia so that authors can be searched, filtered, and displayed based on specific fields.
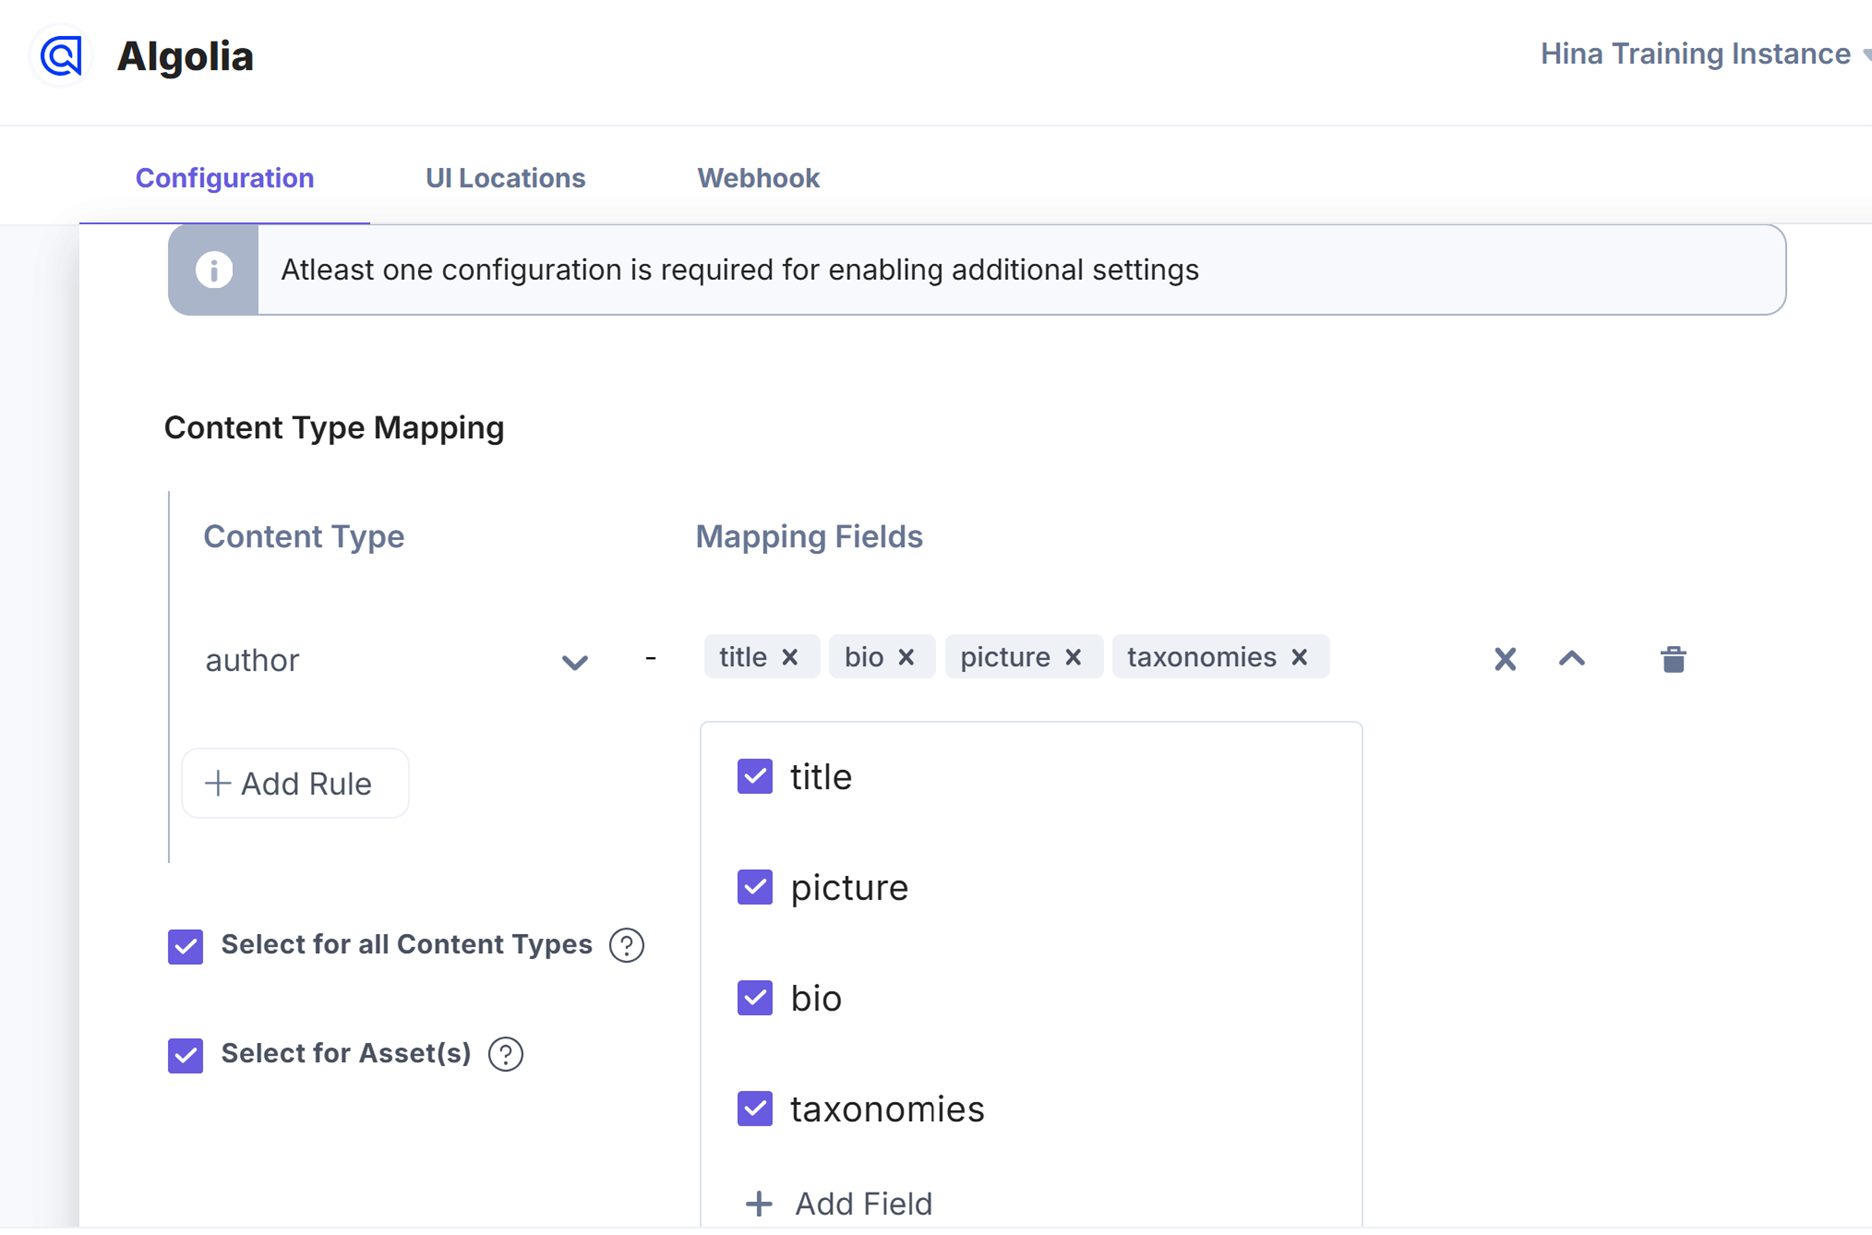
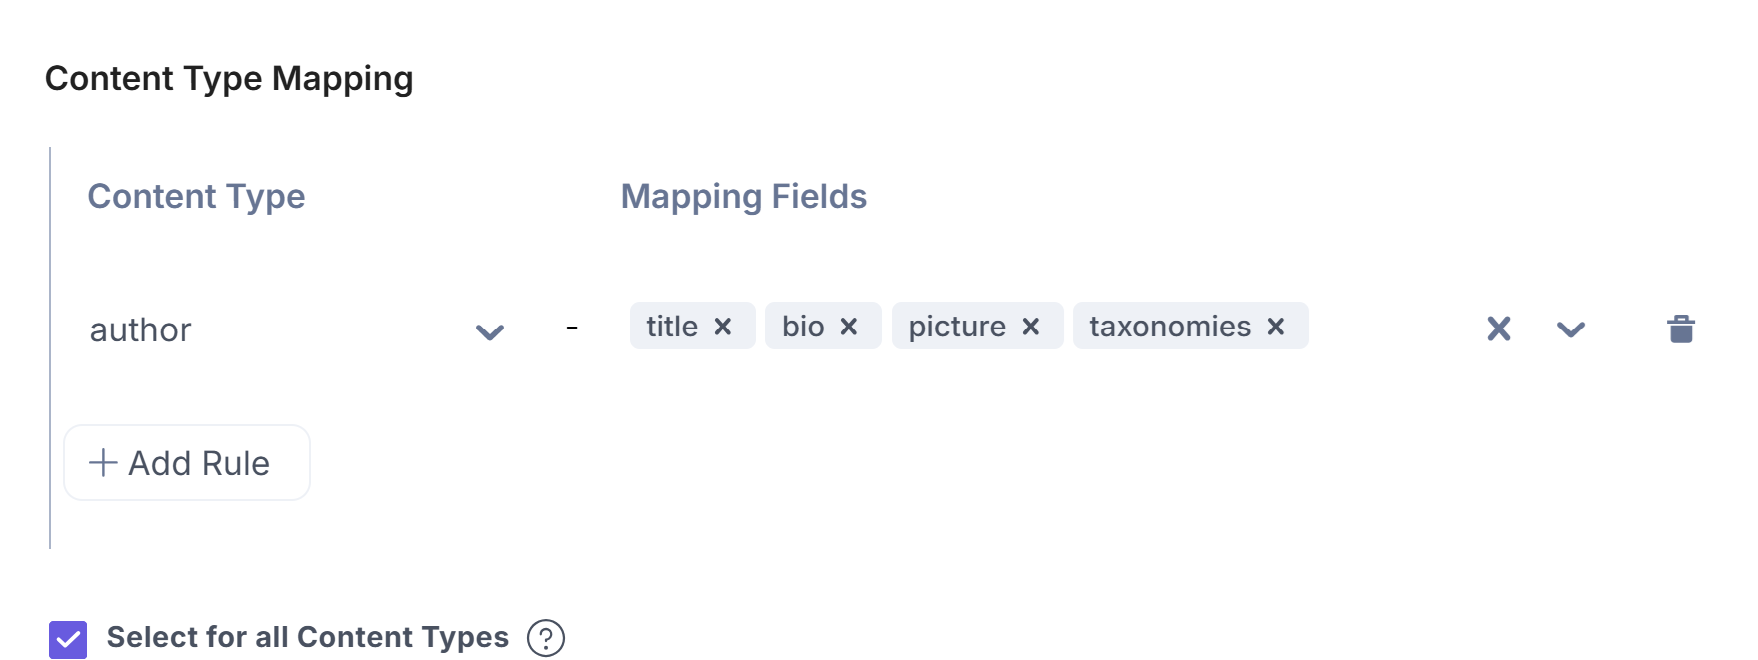
Step 1: Basic Field Mapping in the Marketplace App
Fields such as full_name, bio, and picture are straightforward and can be mapped directly to Algolia attributes using simple one-to-one field mapping in the Marketplace App interface.
Example Mapping
| Contentstack Field | Algolia Attribute |
|---|---|
| full_name | full_name |
| bio | bio |
| picture | picture_url |
To configure this:
- Open the Contentstack → Algolia Marketplace App.
- Select your Stack and choose the Author content type.
- Click Add Field Mapping and map each field to its corresponding Algolia attribute.
- Save and apply the changes.
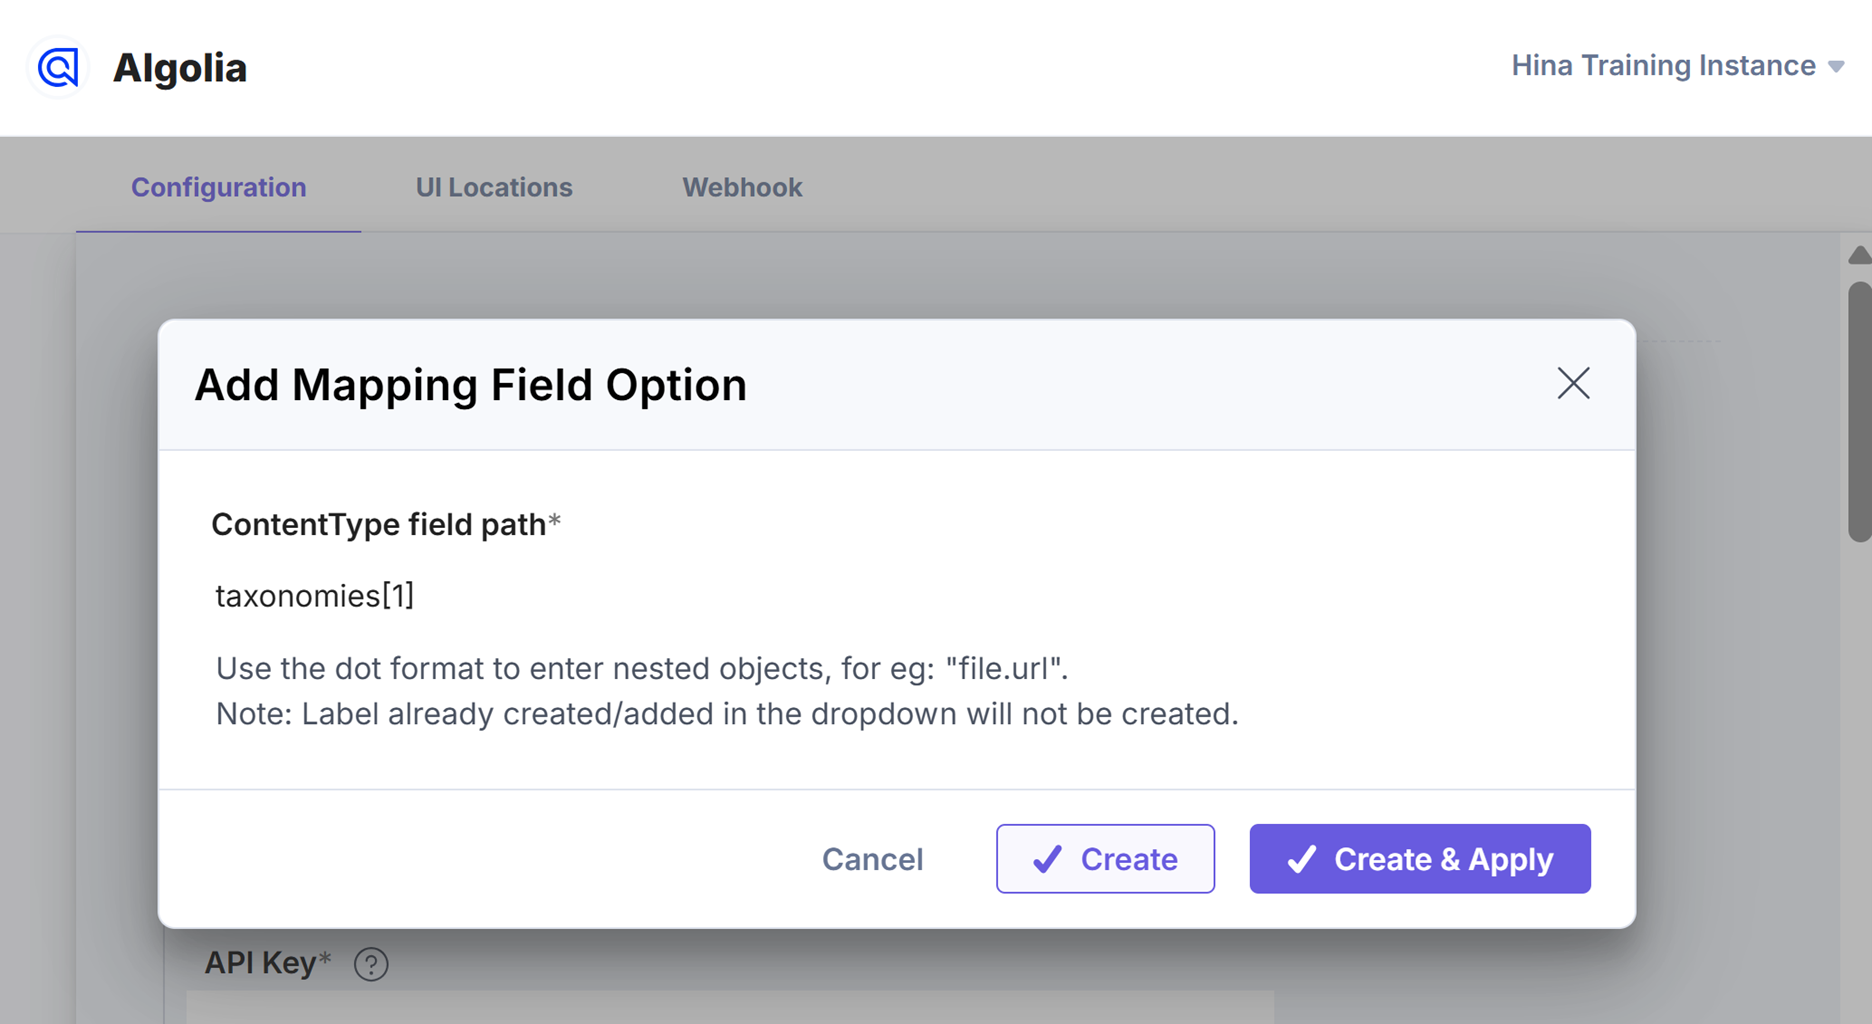
Step 2: Handling Complex Fields Like taxonomies
The taxonomies field in this example is more complex. In a typical REST API response, it may appear as a nested array containing multiple metadata objects.
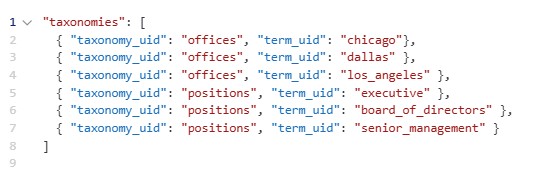
However, in this scenario we only want to display office locations in the search results — not other taxonomy values such as positions or roles.
If the entire taxonomy array is pushed into Algolia, it can introduce unnecessary or irrelevant data into the search index, which may negatively affect search relevance.
Step 3: Selective Mapping with Rules
To address this, we can filter and map only the relevant taxonomy values — in this case, the "offices" taxonomy entries — using mapping rules in the Marketplace App.
Steps:
- Navigate to the Mapping Rules tab.
- Click Add Rule → Mapping Items.
- Select the field taxonomies.
- Apply a filter rule to extract only items where
taxonomy_uid === "offices". - Optionally transform the result by flattening the values into a string or array.
- Click Create & Apply and then Save your mapping configuration.
Best Practices for Content Type Mapping
- Map only what is necessary – Avoid indexing unnecessary fields to keep your Algolia index efficient.
- Flatten nested structures – Extract only the values you need from complex objects or arrays.
- Use mapping rules for transformations – The Marketplace App allows filtering, formatting, and enrichment before indexing.
- Test in a preview or sandbox index before pushing changes to production.
- Use consistent attribute names so fields remain readable and easy to configure for filtering or faceting.
Wrapping Up
Optimizing your Contentstack → Algolia integration begins with thoughtful content type mapping. Whether you are indexing simple text fields or more complex structures such as taxonomies, mapping rules give you precise control over what data enters your search index.
With the right mapping strategy in place, you can ensure cleaner data, improved relevance, and more powerful search experiences for your users.